
How to set up osConcert with FREE Reservations? (Zero Prices)
You have just received your osConcert with your Church Seat Plan integrated.
So you will have a number of LOADED seat plans ready to activate.
Let's first go to Admin>Concert Details

We want to activate any one of the listings so we open the listing with the right hand pencil icon.
We want a short Name for the Event (Name)...and a long name for the Event (Heading)
We want to set the Event to be ACTIVE = check the active box (active)
It's optional to have a Description of your event (Description)
You can enter the Name of your Venue e.g St Mary's (Venue)
Next we must choose a DATE from the DatePicker (Date)
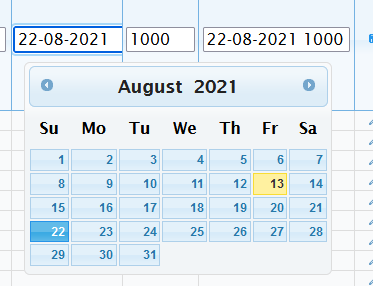
Also write the TIME as 24 hour e.g 1100 (Time) (it will be interpreted a 11am throught the FRONT END)
IMPORTANT: The last field DateID will be automatically set (if the Date ID Auto Fill enabled is enabled as default)
The Date ID gives the Event a unique identification for reporting purposes

With all the fields completed SAVE the listing by closing the inline editor (pencil icon)
If we open again and click the Left Arrow we will see a list of Colors and Prices....since seats are Free Reservations this should be left at 0 (zero) and usually there is only one color band.
Now if we go to the FRONT END in our browser we should see the Event listed as a Featured Event with the Name, Venue, Date and Time overlaying an image. We can change that background image by going to Admin>Products> edit the category of your created Event and we will see the option to upload a background image.
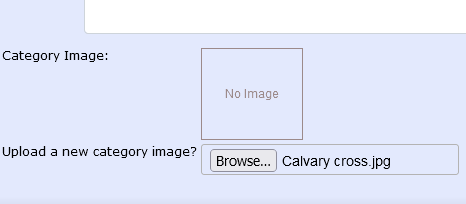
Upload any image and it will be resized to the restriction set in Admin>Shop Settings>Images>Image Upload Width (in pixels)

RESULT:
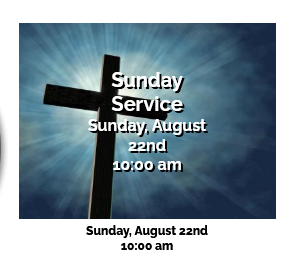
Now with the Event ACTIVE you can announce the Event to your patrons and they can come to the page to select and RESERVE seats at no cost. As osConcert has a REGISTRATION page by default you the Administrator may want to change the conditions of the Sign Up Fields. You can do that in the Admin>Shop Settings>Advanced>Customers to configure and activate your own sign up fields for the FRONT END Create Account Form.
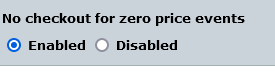
Finally ...we don't really want your customers to see a Payment Page (even if the event is FREE!) so there is a hidden setting at Admin>Products>Advanced>Free Checkout that we should enable so that your customers will go starigh to the CONFIRMATION page when checking out their selected seat RESERVATIONS.
So now we have it so your vistors register/login and RESERVE seats from your Seat Plan. What will you do when the Event has finished and you want to RESET the Seat Plan so that we can use it again?...we will need to RESET all the seats that are unavailable to be available again. We do that by clicking the TRASH ICON in the Admin>Concert Details.
So that we have the abilty to RESET the Reserved Seats to be Available again
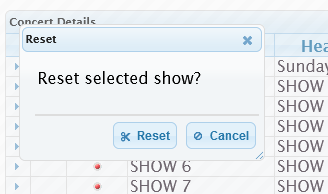
Please NOTE: The RESET option described here will only RESET the seats and NOT the existing Concert Details. They can be overwritten by inline editing anytime.
That's the basics of Set Up and Reset.
There are many other configurations but I hope this tutorial explains how to set up a Free Event.